Well, I still haven’t been able to get an answer out of MD Juan about the floor pan thickness and dimensions. I measured mine to be made of 14g sheet and the dimensions are 38″ x 72″, or 96 x 183cm. I made up a list of hardware that I will need to put the trailer back together also. A lot of the bolt heads and nuts were very pitted or partially rusted away, so I will replace them. Pretty much all of the slotted hex nuts were pretty pitted up, so I will replace them. I took the measurements for the frame cross members so that I can see if I can find a fabricator to bend them up for me – they are pretty simple. They are made of 14g sheet metal bent into a c channel. They are all made the same with the rear being slightly different in hole pattern. They are only held to the outside frame rails by 2 rivets and 2 extra tack welds (the rear is welded up at the seam though. Might as well replace these while I have the tub off since it won’t be that much more trouble!
I won an auction for a pair of M100 drain plugs on eBay yesterday for slightly more than I paid for a pair 15 years ago. Yes, I bought a pair of them back then – but they were misplaced! If you could see my shop you would understand. I figured that most places are selling them for $28 ea + shipping, so $39 delivered was a good deal, and they are something I would have to have to finish this resto. BTW, I paid $17 ea + shipping 15 yrs ago!
While I was out in the shop yesterday, I decided to pull the new wiring harness out of the box to check everything out. I actually had 2 harnesses in there. I have a late style harness wired for turn signals, and an early one with Douglas connectors and not wired for signals. Weird thing is – it has a FEMALE plug that goes into the front right frame opening. Looking at my other trailers, I think it should be a MALE plug. I also have the single end, wired, late style intervehicular cable and a 6′ double ended (male and female), early style intervehicular cable. While I was looking for the intervehicular cable, guess what I ran across? The 2 drain plugs that I bought 15 yrs ago – still in the NOS box! I guess I will try to RE sell the ones I just bought on eBay.
I was going to cut the last welds to set the tub free today. I bought the fiber reinforced cut off disks last week. I got everything together and ran the drop cord – plugged up the Dremel and – NOTHING! Beat on it everywhere, tried other receptacles – NOTHING! That’s weird, because it was working fine last week when I was off. Oh well, on to other things.
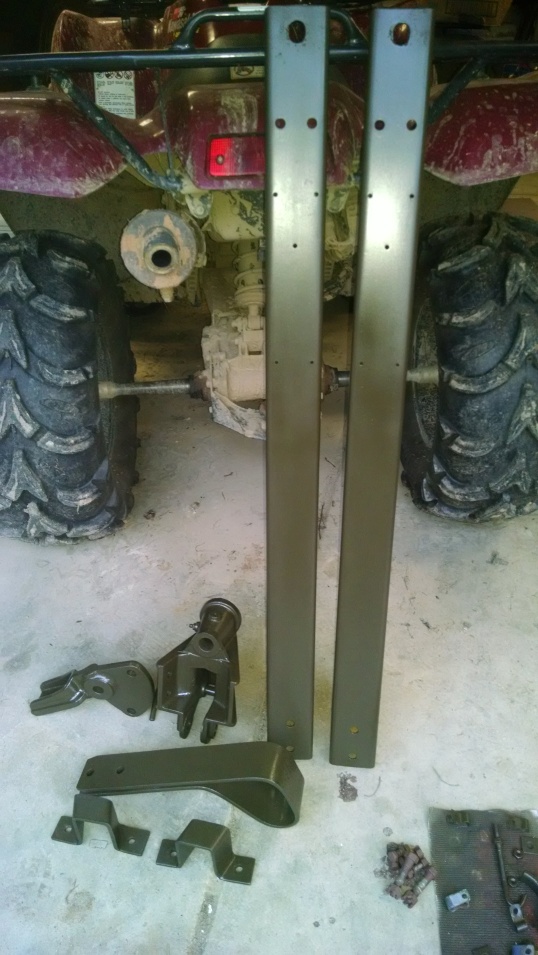
So, I scuffed the primer down on all of my small parts (so far), and mixed up a little OD24087 for the touch up gun. I took them outside since it was such a nice day, and laid them out on the overturned M100 tub. 2 coats and let them sit – not 1 bug in all of the parts! While they were drying, I installed the wheels/tires back on the running gear. When I was putting the lug nuts on, I noticed something weird – F marked bolts in the hubs on both sides! Also something that I never realized – you know that military vehicles have left hand threads on the left side, right? Well, the trailers do too, of course! TIP: An easy way to tell a left hand thread nut is the flats have little indentions on them. And, of course, the left hand thread studs have an L stamped into the end of them.
I had a little time left before dark, so I cleaned up some of the GOOD hardware and painted them.
Here’s an easy way to paint nuts/bolts/washers. Wrap one wrap of bailing wire around a bolt, leave an inch between them. Make sure you leave enough wire for a handle (more than I did – notice my OD fingers!). If you want to paint the ends of the bolts, thread the nut on until it is even with the bolt end.
That’s probably all I will get done this week. I have doors to paint (2nd coat – 5 doors), and a water line at the well to fix (broke this afternoon) tomorrow.


